🔹ArgoCD 설치
#argocd namespace 생성
$ kubectl create namespace argocd
#argocd 설치
$ kubectl apply -n argocd -f <https://raw.githubusercontent.com/argoproj/argo-cd/stable/manifests/install.yaml>
#argocd 설치 확인
$ kubectl get all-n argocd
#argocd 로드밸런서 생성
$ kubectl patch svc argocd-server -n argocd -p '{\\"spec\\": {\\"type\\": \\"LoadBalancer\\"}}'
#argocd 로드밸런서 생성 확인
$ kubectl get all -n argocd
# argocd 비밀번호 확인
argocd에 접속하기위한 패스워드를 확인하기 위해서 argocd cli를 설치해줍니다.
(참고 : Installation - Argo CD - Declarative GitOps CD for Kubernetes (argo-cd.readthedocs.io) )
$version = (Invoke-RestMethod <https://api.github.com/repos/argoproj/argo-cd/releases/latest>).tag_name

$url = "<https://github.com/argoproj/argo-cd/releases/download/>" + $version + "/argocd-windows-amd64.exe"
$output = "argocd.exe"
Invoke-WebRequest -Uri $url -OutFile $output
# 환경변수 PATH에 추가
# 다운로드 받은 argocd.exe 파일이 있는곳으로 세팅해준다.
[Environment]::SetEnvironmentVariable("Path", "$env:Path;C:\\dev", "User")
- argocd 패스워드 확인
$ argocd admin initial-password -n argocd
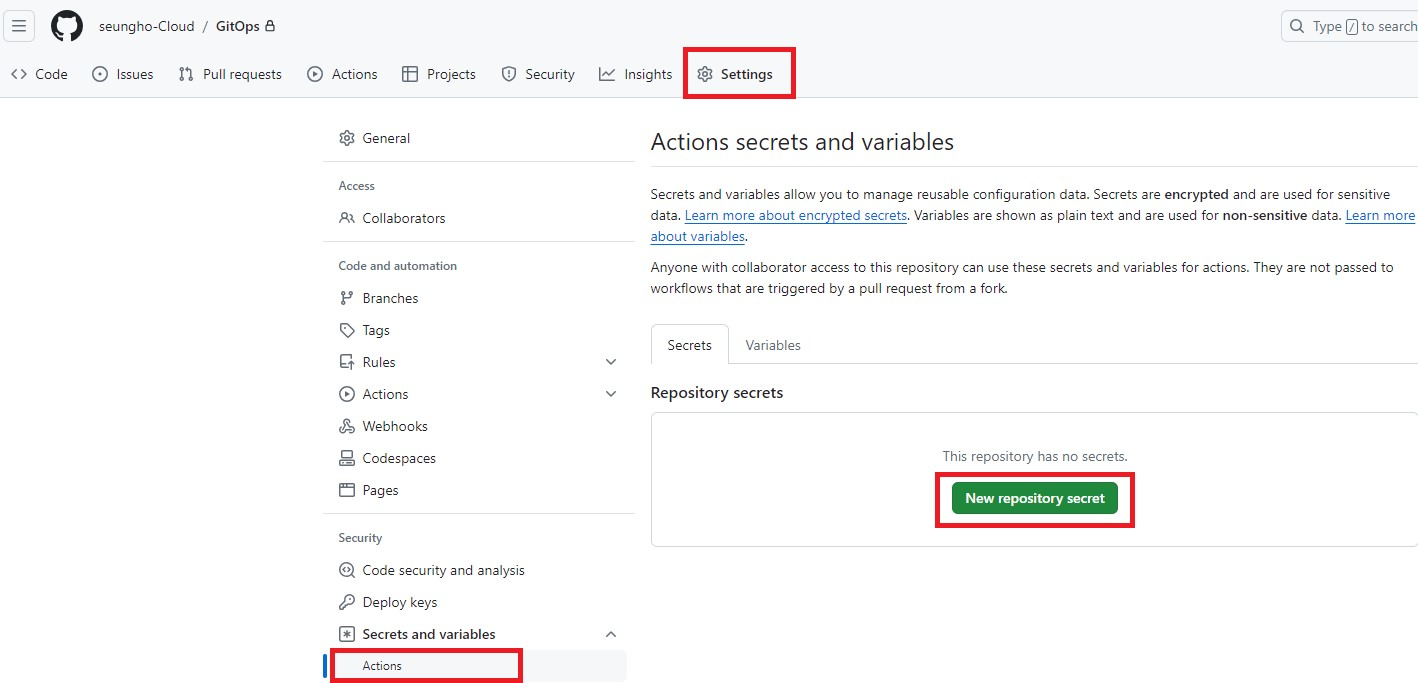
🔹Github Secrets 설정
GitHub 리포지토리의 Settings -> Secrets and variables -> **Actions**에서 다음 비밀 정보를 추가합니다:
- ACR_USERNAME: 위에서 가져온 ACR 사용자 이름
- ACR_PASSWORD: 위에서 가져온 ACR 비밀번호
- ACR_NAME: ACR 이름
- KUBE_CONFIG: Kubernetes 설정 파일 내용 (kubectl config view --raw 명령으로 가져올 수 있음)
- ARGOCD_SERVER: ArgoCD 서버 주소
- ARGOCD_USERNAME: ArgoCD 사용자 이름
- ARGOCD_PASSWORD: ArgoCD 비밀번호
- 아래와 같이 설정을 해줍니다.

🔹 ArgoCD-Github 연결
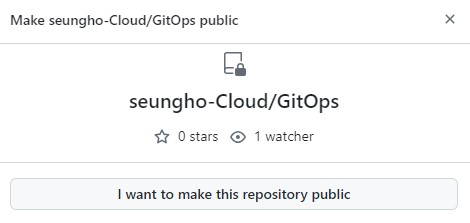
- 내 repository를 private에서 public으로 바꿔줍니다.
- Settings > General > Danger Zone > Change repository visibility

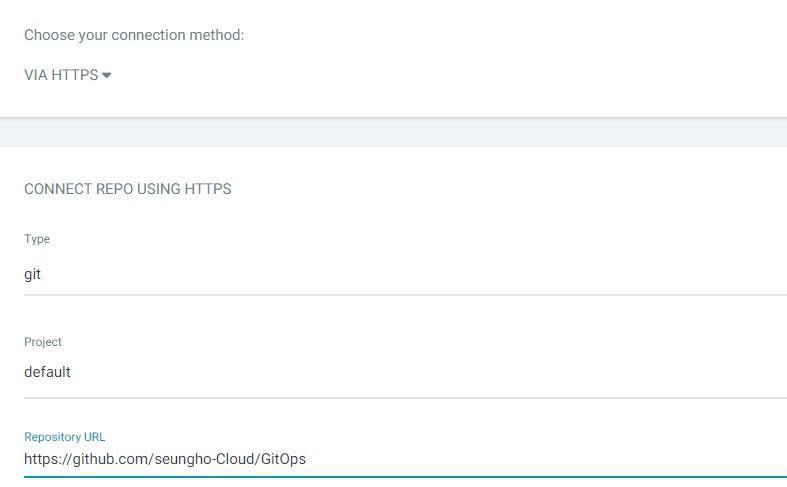
- Argocd 페이지에서 Setting>CONNECT REPO 에서 다음과 같이 설정해줍니다.
- Choose your connection method : VIA HTTPS
- Type : git
- Project : default
- Repository URL : 연결하고자하는 repository URL
- 내 repository가 Connect 완료된 상태

- application>NEW APP 에서 다음과 같이 설정해줍니다.
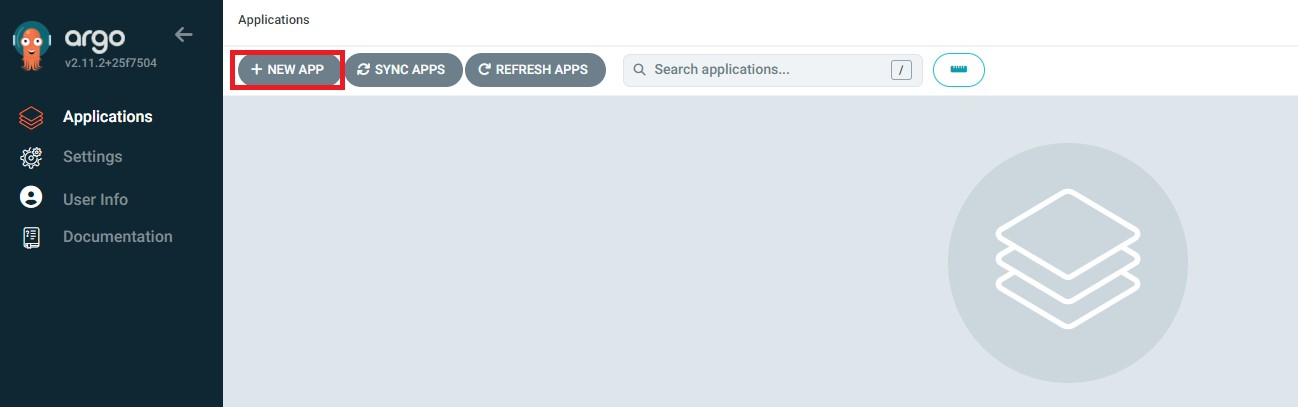
- Application Name : my-nginx-app
- Project Name : default
- SYNC POLICY : Automatic
- SELF HEAL : CHECK
- SOURCE : seungho-Cloud/GitOps (github.com) (연결하고자하는 레포지토리)
- Revision : master (연결하고자하는 Branch)
- Path : ./
- Cluster URL : https://kubernetes.default.svc
- Namespace : default

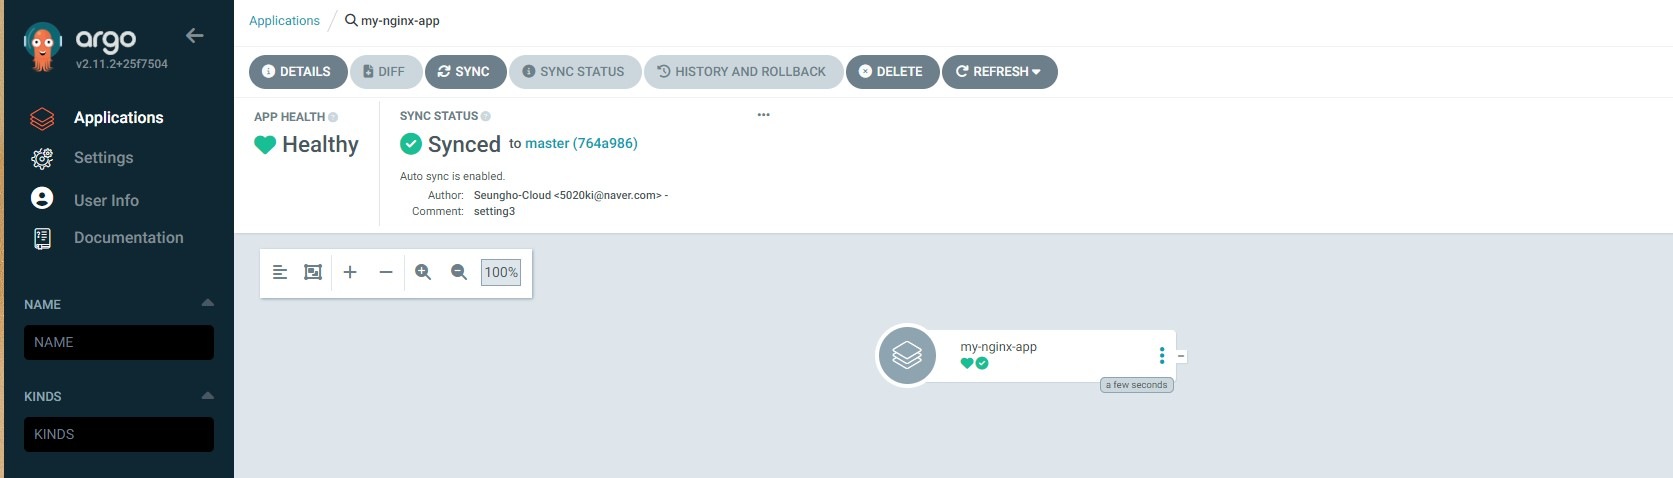
- 아래와 같이 “my-nginx-app” application이 생성된 것을 볼 수 있다.
🔹 TroubleShooting
- 앱 코드를 GitHub 리포지토리에 커밋해보겠습니다.
$ git add .
$ git commit -m "setting2"
$ git push origin master
💡 에러 1.
Run docker build -t /GitOps:0c4a6b94008c82764e5af14ccdcf6e67ad875e3d .
ERROR: invalid tag "/GitOps:0c4a6b94008c82764e5af14ccdcf6e67ad875e3d": invalid reference format
Error: Process completed with exit code 1.

위 에러는 Docker 이미지 태그가 잘못된 형식으로 작성된 경우 발생한 것으로, ci-cd-pipeline.yaml 파일의 Build and push Docker image 부분을 아래 코드로 수정해줬습니다. Azure Container Registry의 도메인인 .azurecr.io: 내용을 추가해줍니다.
- name: Build and push Docker image # Docker 이미지를 빌드하고 ACR에 푸시합니다.
      run: |
        docker build -t ${{ secrets.ACR_NAME }}.azurecr.io/my-nginx-app:${{ github.sha }} .
        docker push ${{ secrets.ACR_NAME }}.azurecr.io/my-nginx-app:${{ github.sha }}
위 사진 3번의 GitHub Actions는 앱 코드에서 컨테이너 이미지를 빌드하고 컨테이너 이미지를 Azure Container Registry에 밀어넣는데 까진 성공을 했습니다.
💡 에러 2
Run echo "***
/home/runner/work/_temp/9f1c2599-9796-47ec-a0f9-246c14c9ed8b.sh: line 55: /home/runner/.kube/config: No such file or directory
Error: Process completed with exit code 1.

위 에러는 $HOME/.kube 디렉토리가 없어서 발생하는 이슈로, cd-pipeline.yaml 파일의 Set up Kubeconfig 부분을 아래 코드로 수정해줬습니다.
mkdir -p $HOME/.kube 라인을 추가해주었습니다.
    - name: Set up Kubeconfig # Kubernetes 설정 파일을 설정합니다.
      run: |
        mkdir -p $HOME/.kube # 디렉토리 생성
        echo "${{ secrets.KUBE_CONFIG }}" > $HOME/.kube/config # Kubeconfig
- 정상적으로 deploy가 된 것을 볼 수있습니다.

🔹 Test

- 쿠버네티스에서 default 네임스페이스에 Nginx Pod를 배포하는 Deployment 및 이를 노출하는 Service를 정의하는 YAML 파일을 작성할 수 있습니다. 여기서는 **deployment.yaml**과 svc.yaml 파일을 각각 만들어 보겠습니다.
- deployment.yaml : Nginx Pod를 배포하는 Deployment를 정의하는 파일입니다.
apiVersion: apps/v1
kind: Deployment
metadata:
  name: nginx-deployment
  namespace: default
spec:
  replicas: 3
  selector:
    matchLabels:
      app: nginx
  template:
    metadata:
      labels:
        app: nginx
    spec:
      containers:
      - name: nginx
        image: nginx:latest
        ports:
        - containerPort: 80
- svc.yaml
apiVersion: v1
kind: Service
metadata:
  name: nginx-service
  namespace: default
spec:
  selector:
    app: nginx
  ports:
    - protocol: TCP
      port: 80
      targetPort: 80
  type: LoadBalancer
- git commit & push
$ git add .
$ git commit -m "deploy my-nginx-app2"
$ git push origin master
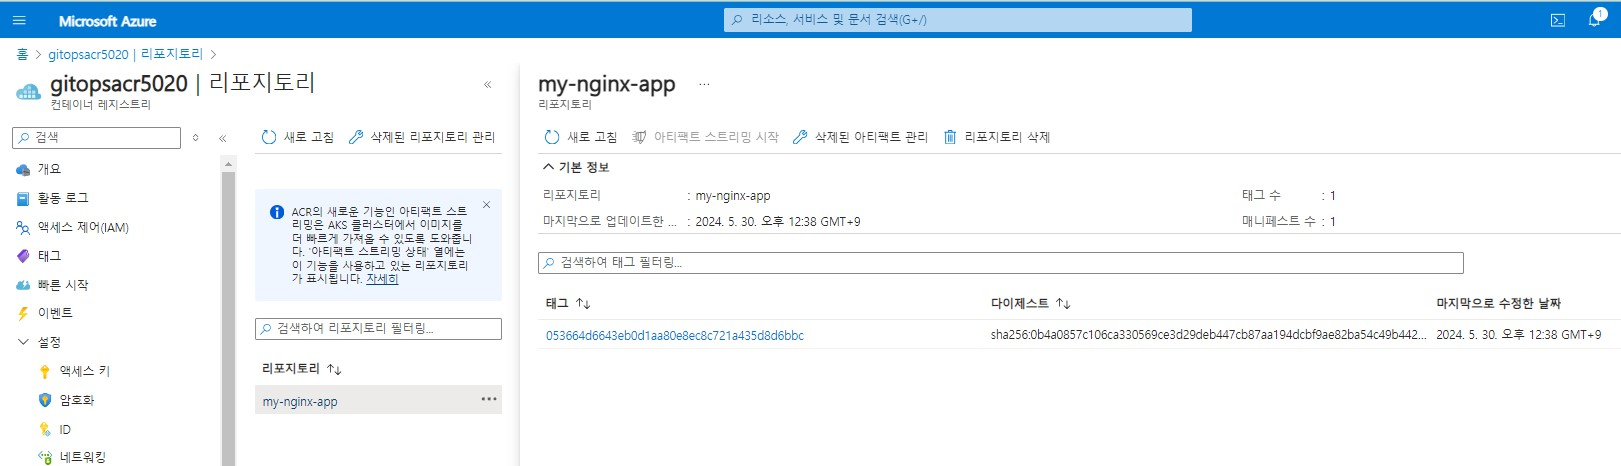
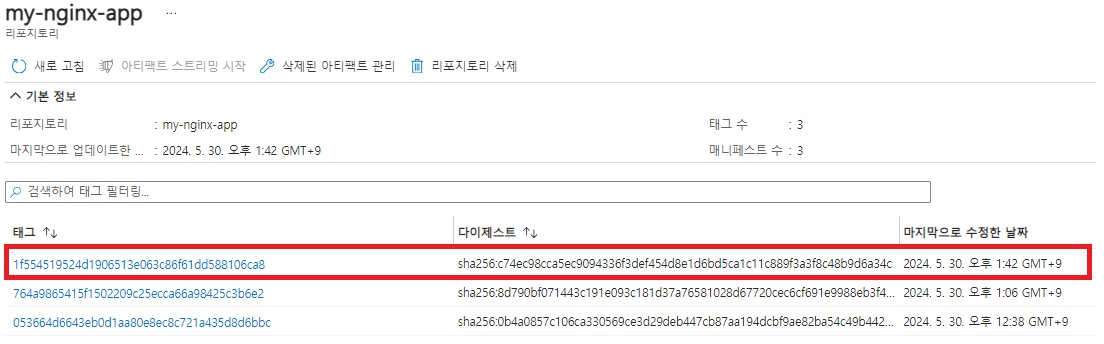
- Container Registry에 이미지가 들어갔는지 확인해줍니다.
- Github actions workflow도 잘 작동한 것을 확인할 수 있습니다.

- argocd에 배포되는지 확인합니다. (kubectl apply -f 명령어를 배포를 하지않아도 자동을 배포가 되었습니다. )

- 클러스터 내부에서도 확인해보면 정상적으로 applicaiton, pod,service가 생성된 것을 확인가능합니다.

감사합니다.
'CSP > Azure' 카테고리의 다른 글
| Prometheus & Grafana 설치 (0) | 2024.06.05 |
|---|---|
| GitOps for AKS (1) (2) | 2024.05.31 |
| [Azure] Resource Manager (0) | 2024.05.02 |
| [Azure] Azure 리소스 만들기 (0) | 2024.04.30 |
| [Azure] Azure 가상네트워크 만들기 (0) | 2024.04.30 |