이전에 진행했던 프로젝트에 추가하여 Monitoring 기능을 추가형 Prometheus랑 Grafana를 설치해보겠습니다
아래 링크에 이어서 진행하였으니 참고부탁드리며, 글 작성에 필요한 정보는 아래 링크를 참고하였습니다.
이전 링크 : https://everyonecloud.tistory.com/67
참고 링크 : https://dev.to/thenjdevopsguy/monitoring-aks-with-prometheus-and-grafana-9o8
사실 Promethus 와 Grafana는 Azure에서도 서비스를 제공합니다. 하지만 비용적인 부분이 이슈가 있는 단점이 있습니다.
이번 시간에는 Helm으로 설치하는 방법으로 해보도록 하겠습니다.
🔹 Prometheus and Grafana
- helm 설치
$ curl -fsSL -o get_helm.sh <https://raw.githubusercontent.com/helm/helm/main/scripts/get-helm-3>
$ chmod 700 get_helm.sh
$ ./get_helm.sh
# 설치 확인
$ helm version
- Prometheus 및 Grafana용 Helm 저장소를 추가합니다.
$ helm repo add prometheus-community <https://prometheus-community.github.io/helm-charts>
**"prometheus-community" has been added to your repositories**
$ helm repo update
- monitoring 이라는 새 네임스페이스에 Helm Chart를 설치하는 것입니다
$ helm install prometheus prometheus-community/kube-prometheus-stack --namespace monitoring --create-namespace

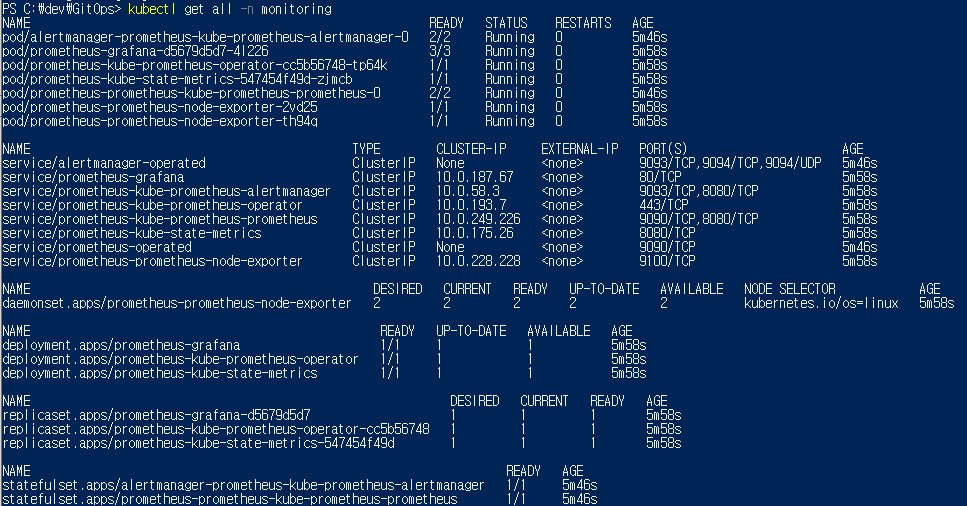
- 다음 명령을 실행하여 스택이 배포되었는지 확인할 수 있습니다.
$ kubectl get all -n monitoring
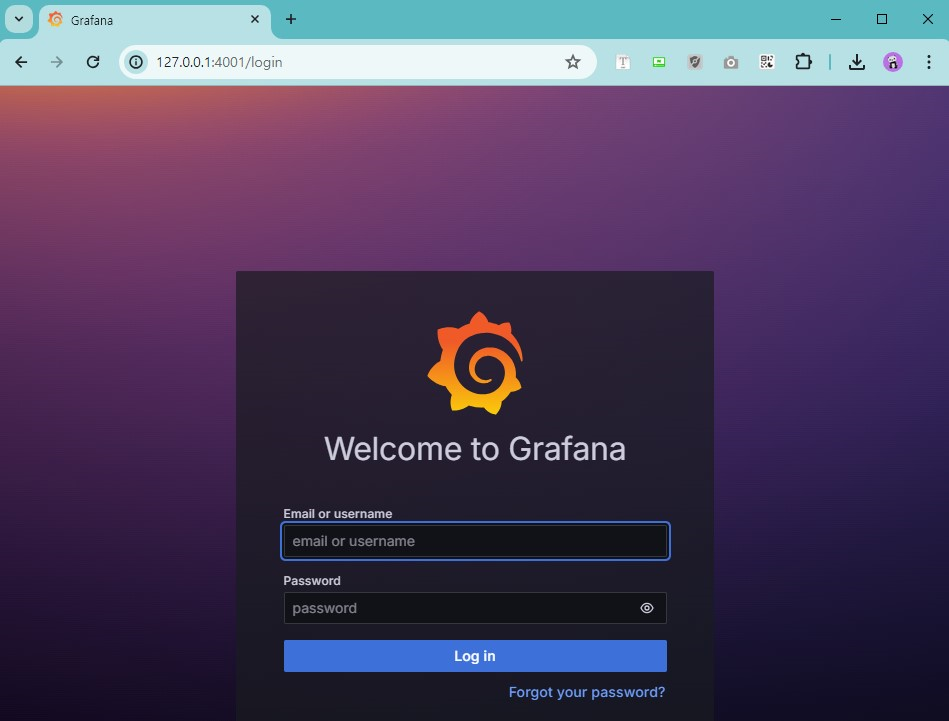
- Grafana를 4000 포트로 열어줍니다.
kubectl port-forward svc/prometheus-grafana -n monitoring 4001:80
Grafana의 기본 사용자 이름/비밀번호는 admin/prom-operator입니다.
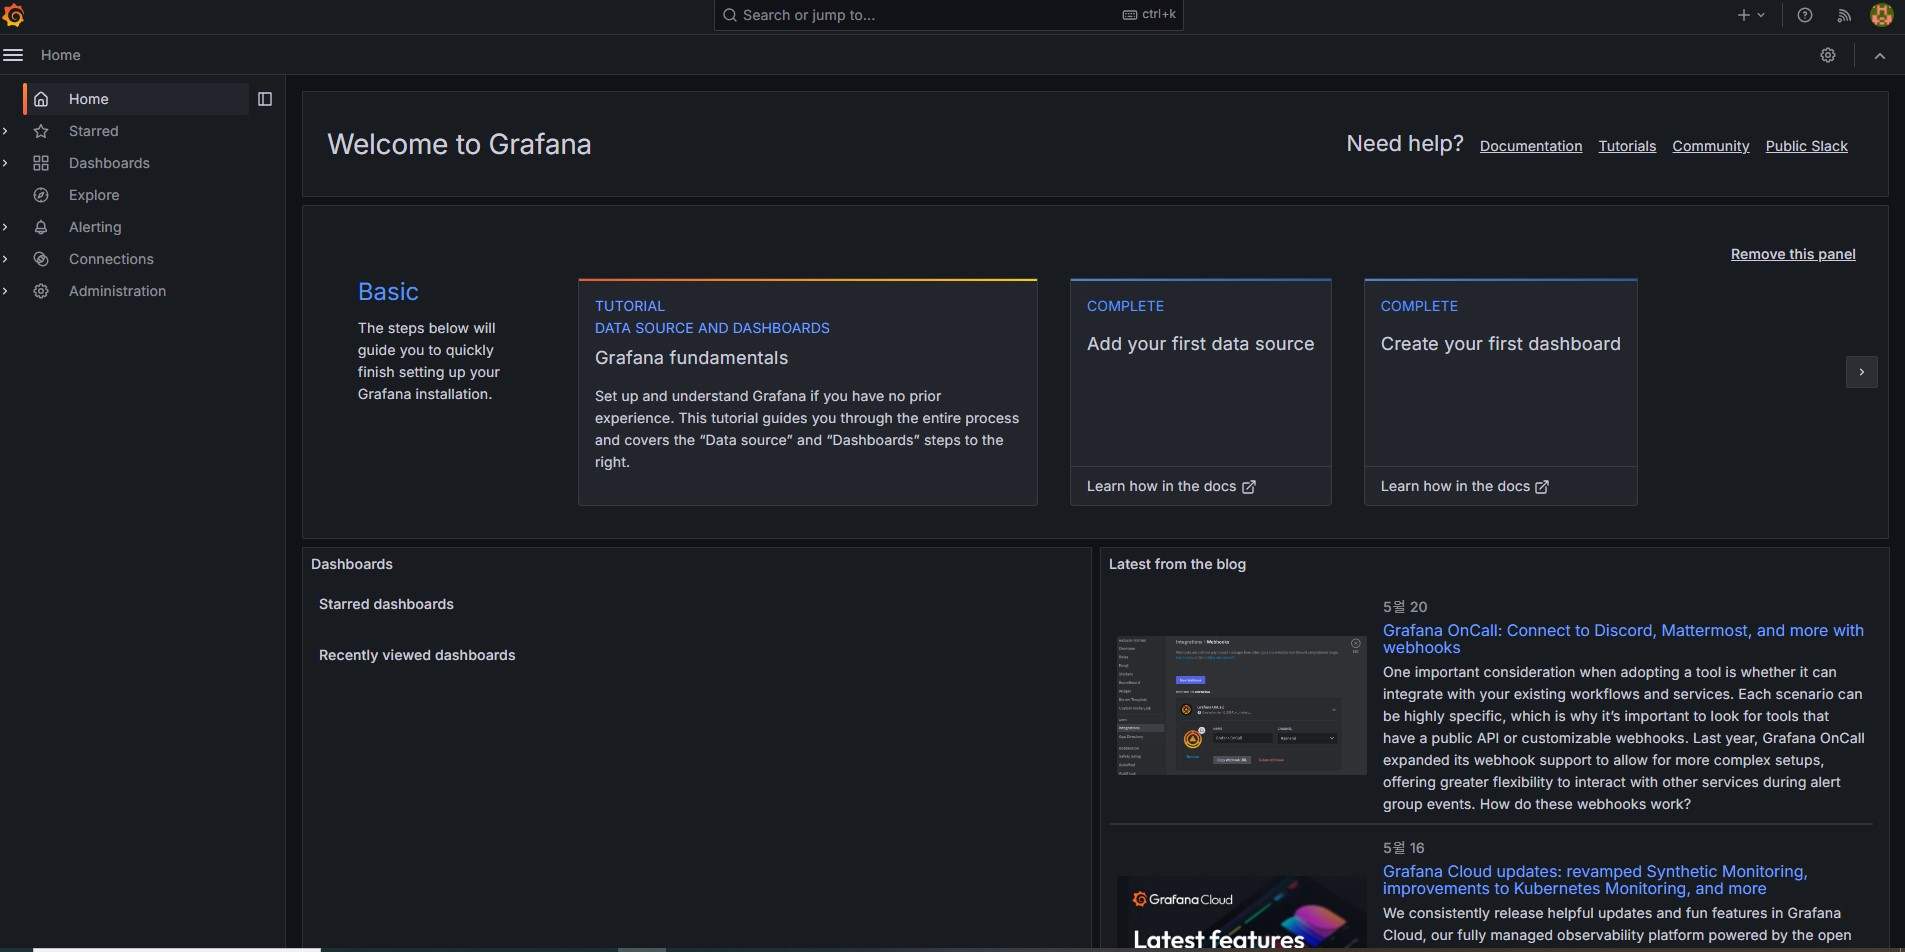
로그인 완료된 화면입니다.
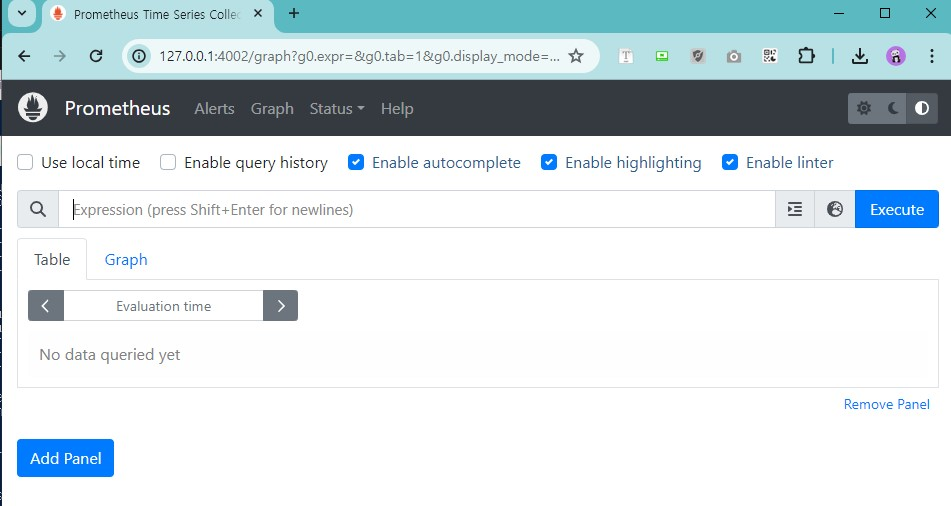
다음으로 프로메테우스를 4002 포트로 열어줍니다.
kubectl port-forward svc/prometheus-kube-prometheus-prometheus -n monitoring 4002:9090
두 UI에 모두 접근할 수 있으면 Grafana 대시보드> Kubernetes / Compute Resources / Namespace (Pods)로 이동합니다.
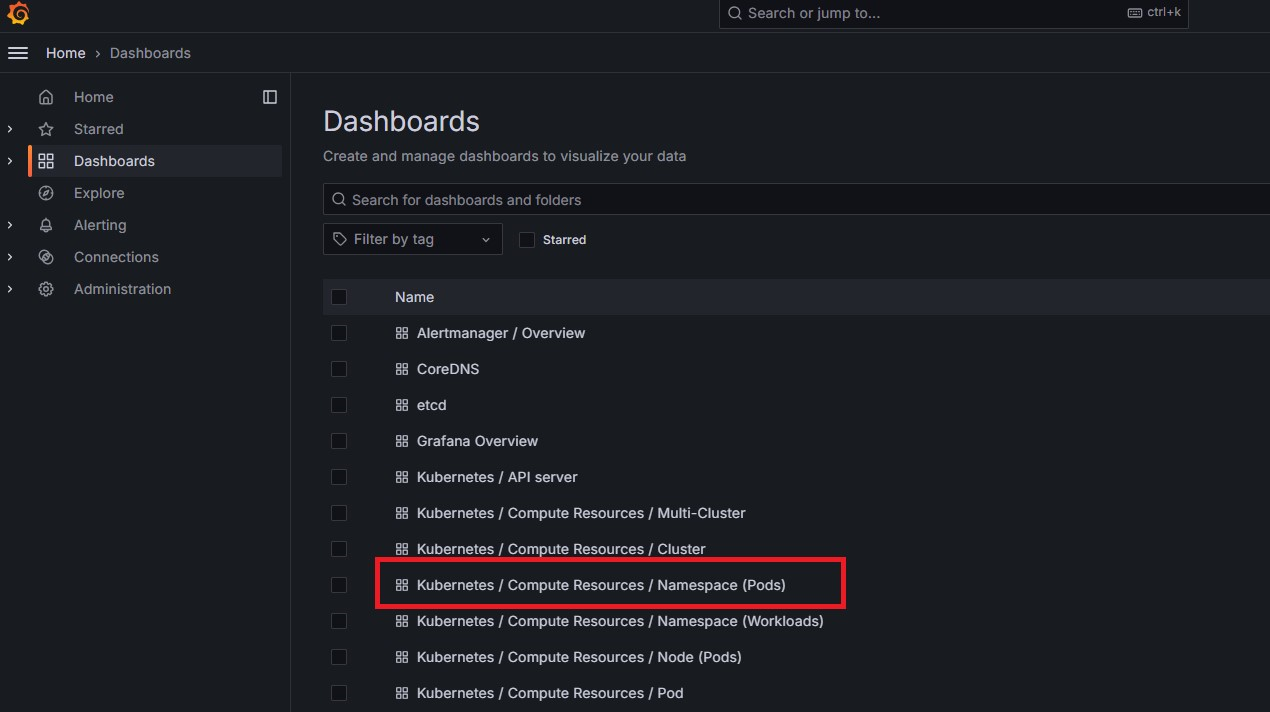
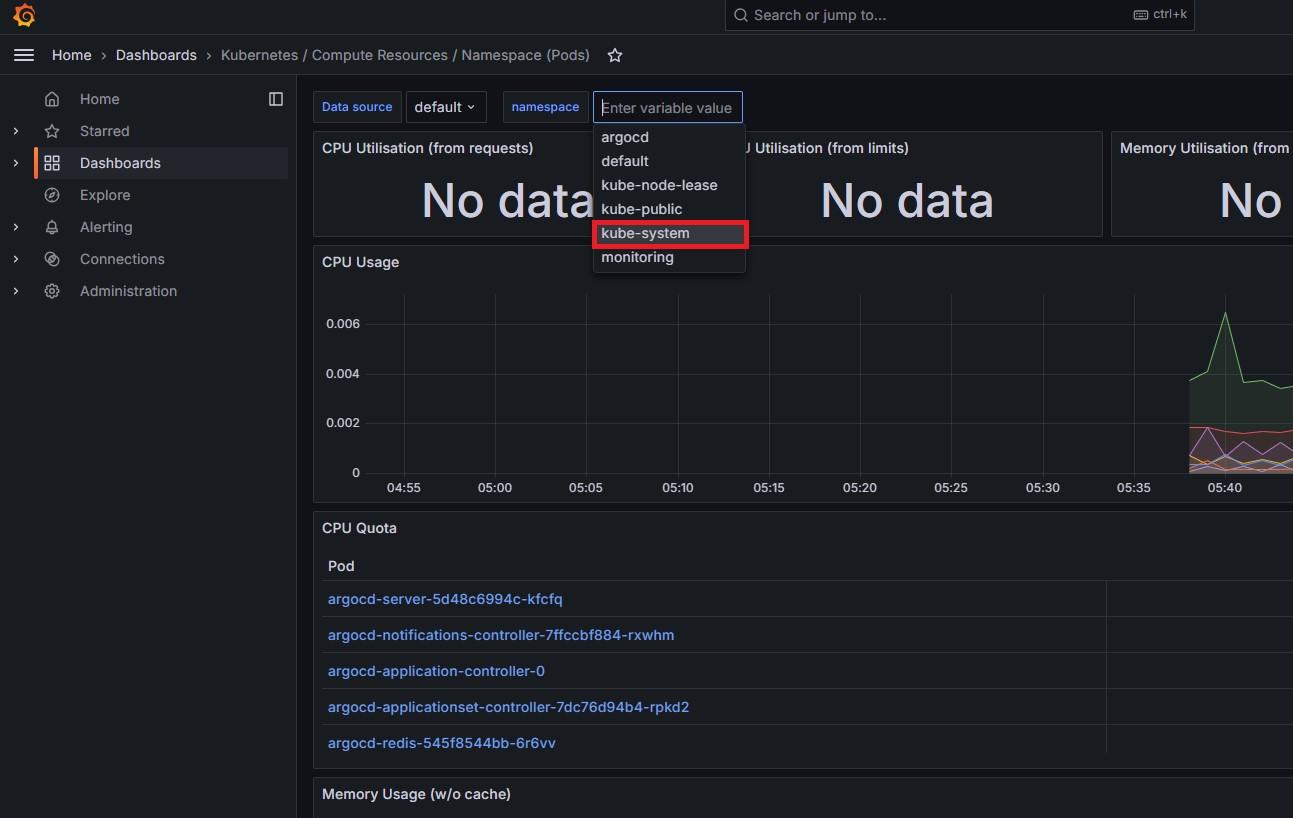
네임스페이스를 kube-system 네임스페이스로 변경하면 해당 네임스페이스에서 실행 중인 모든 Pod가 표시됩니다.

감사합니다.
'CSP > Azure' 카테고리의 다른 글
| GitOps for AKS (2) (0) | 2024.05.31 |
|---|---|
| GitOps for AKS (1) (2) | 2024.05.31 |
| [Azure] Resource Manager (0) | 2024.05.02 |
| [Azure] Azure 리소스 만들기 (0) | 2024.04.30 |
| [Azure] Azure 가상네트워크 만들기 (0) | 2024.04.30 |